Kimchi jeon is at its best right off the pan. The edges should crackle a little when you cut them, while the middle stays soft with chopped kimchi. I use the juice from the kimchi jar in the batter; it gives the pancakes color and a sharper kimchi flavor.
Why This Kimchi Pancake Stays Crisp
Keep each pancake thin and wait until the underside is properly browned before turning it. Three smaller pancakes are easier to handle than one thick one. A little oil for each batch helps the edges fry instead of steam.
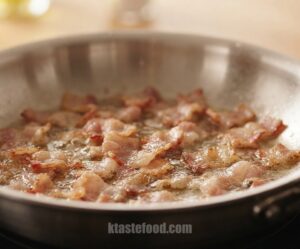
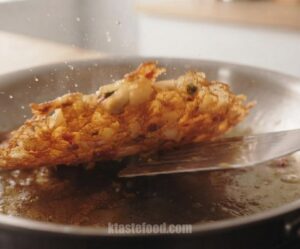
The recipe below is for basic kimchi jeon. The original step photos are kept in place, including one that shows bacon preparation. Bacon is a clearly marked optional variation in the card.

Crispy Kimchi Jeon (Korean Kimchi Pancake)
Ingredients
For the kimchi pancakes
- 240 g well-fermented kimchi 8.5 oz / about 1½ cups, chopped; reserve the juice
- 30 ml kimchi juice 1 fl oz / 2 tbsp, from the kimchi jar
- 125 g all-purpose flour 4.4 oz / about 1 cup
- 180 ml cold water 6 fl oz / ¾ cup
- 2 g sugar about ½ tsp; optional if the kimchi is very sour
- 30 ml neutral cooking oil 1 fl oz / 2 tbsp, divided for frying
Optional bacon variation
- 50 g bacon 1.8 oz / about 2 slices, chopped; omit for the basic kimchi jeon
Instructions
- Chop the kimchi into small pieces and measure 2 tbsp (30 ml) of its juice. If making the optional bacon variation, cook the chopped bacon in a dry skillet over medium heat for 2–3 minutes until crisp; transfer it to a plate. Wipe the skillet before frying the pancakes.
- In a bowl, combine the kimchi, kimchi juice, flour, and cold water. Add the sugar only if the kimchi tastes very sour. Stir just until no dry flour remains. If using bacon, fold the cooked pieces into the batter.

- Heat a 20–23 cm (8–9 inch) nonstick skillet over medium-high heat. Add 2 tsp (10 ml) of the oil, then spread one-third of the batter into a thin, even pancake.

- Cook for 3–4 minutes until the underside is browned and the edges look crisp. Lift an edge to check before flipping; lower the heat slightly if it darkens too quickly.

- Flip and cook the second side for 2–3 minutes, pressing lightly with a spatula. Transfer to a rack or plate and repeat with the remaining batter and oil to make three pancakes. Serve hot.
Notes
For crisp edges
- Keep the batter thin in the pan and use the oil in three batches. Let the first side brown before flipping.
- Cold water and minimal mixing help keep the batter light. If the kimchi releases extra liquid, add a spoonful of flour only if the batter will not hold together.
Bacon variation
The basic pancakes contain no bacon. For a bacon version, cook 50 g (about 2 chopped slices) until crisp and fold it into the batter as described in steps 1 and 2. The cooking time may be a few minutes longer.Allergens and storage
Contains wheat. Check the kimchi label for fish or shellfish ingredients; the optional bacon adds pork. Refrigerate leftovers promptly in an airtight container and reheat in a lightly oiled skillet until hot and crisp.Ingredients and Equipment
Optional shopping links. As an Amazon Associate, K-Taste Food earns from qualifying purchases at no additional cost to you.
💡 A Few Useful Tips
- Choose well-fermented kimchi with juice in the jar. Fresh kimchi makes a milder pancake.
- Don’t stack the pancakes while they are hot; trapped steam softens the edges.
- The bacon shown in the first step photo is optional. Leave it out for the base recipe.
🍽️ More Ways to Use Kimchi
❓ Frequently Asked Questions
Do I need an egg?
No. The flour and kimchi juice make a batter that holds together without egg.
Can I use fresh kimchi?
You can, but the flavor will be milder. Well-fermented kimchi gives the pancakes the tang that makes them taste like kimchi jeon.
Why did my pancake turn soft?
It may have been spread too thickly or stacked while hot. Fry each batch thinly and serve it soon after it leaves the pan.
Serving tip: Move the finished pancakes to a rack while you cook the next one, then bring them to the table while the edges are still crisp.
Allergens: Contains wheat. Some kimchi contains fish sauce or salted shrimp; check the jar label if you avoid fish or shellfish. Bacon adds pork only if you choose that variation.
More recipes to cook next
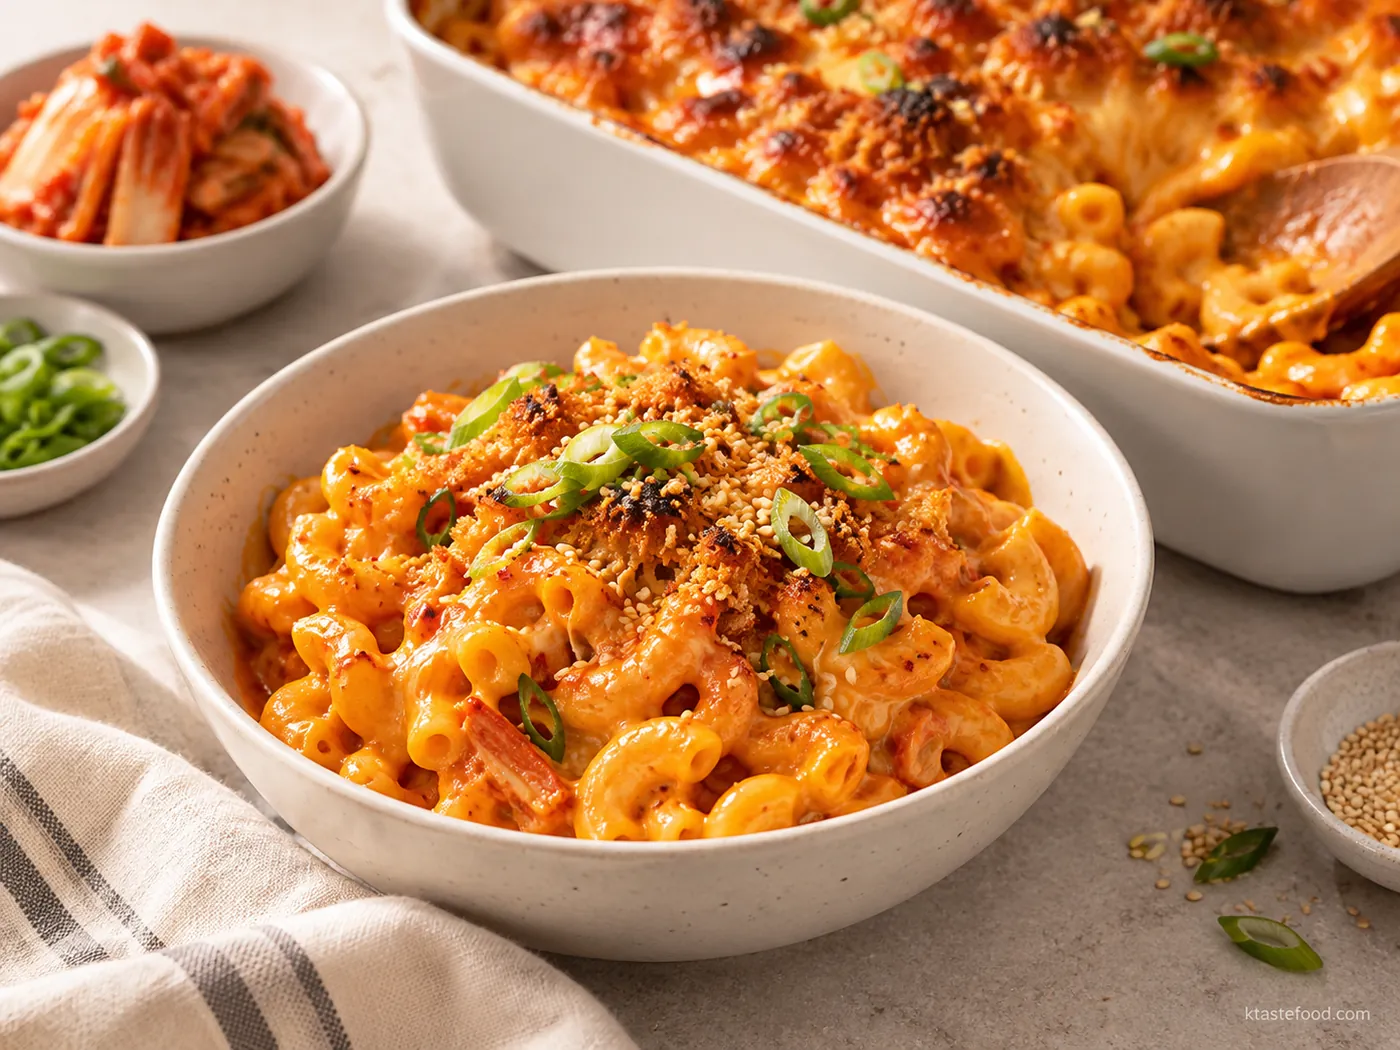
Creamy Kimchi Mac and Cheese with Doenjang Sesame Crunch
Side Dishes · 40 min
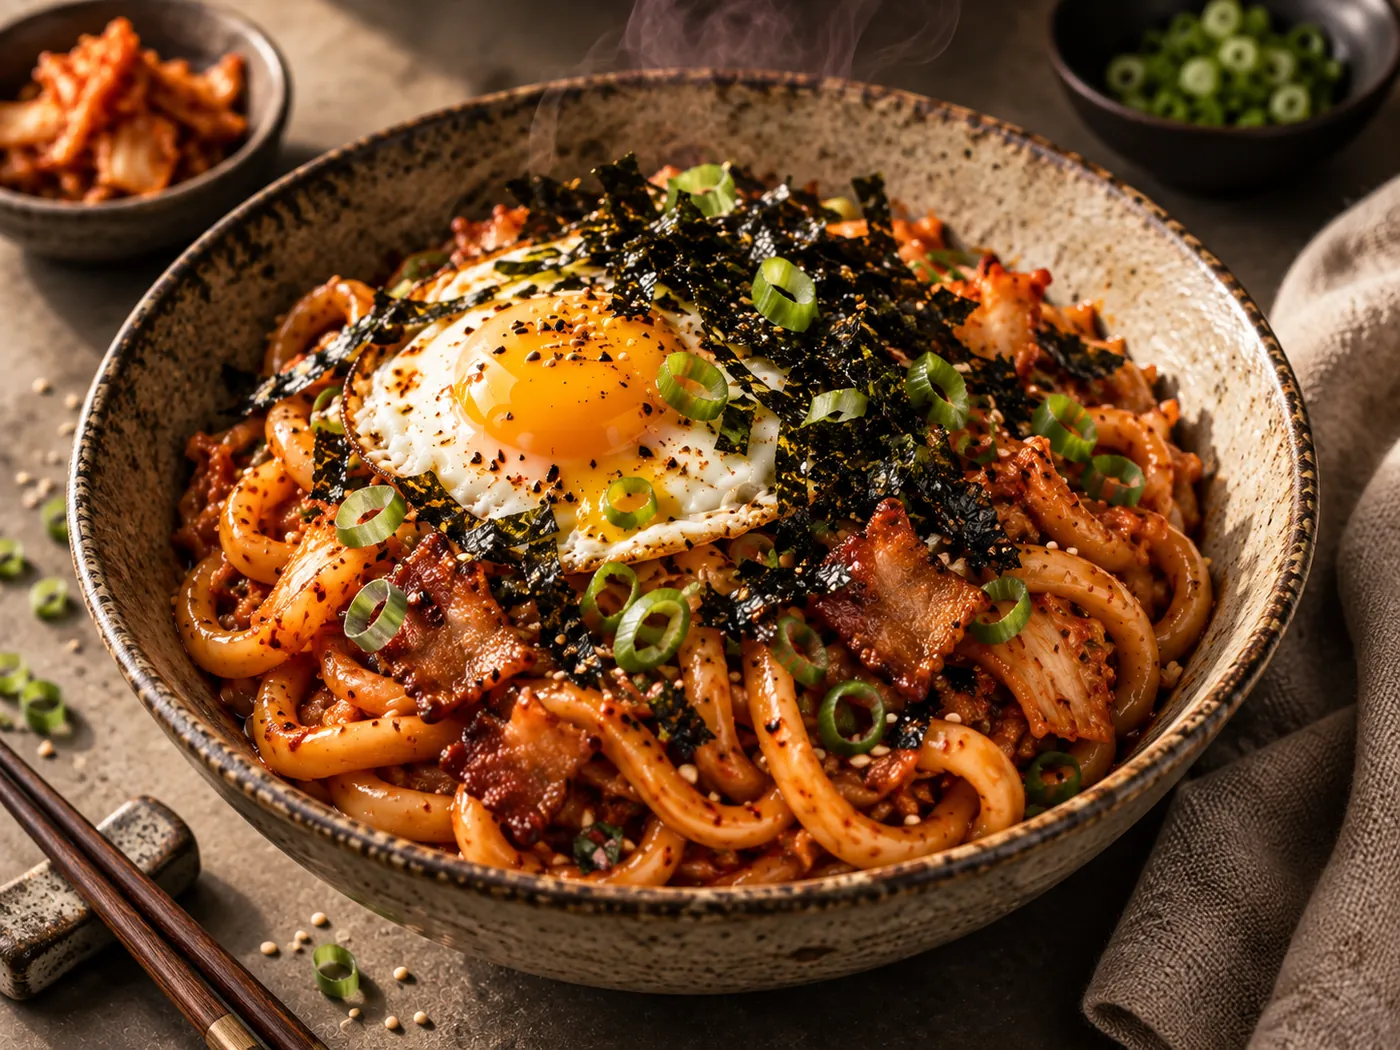
Spicy Kimchi Udon with Bacon, Hot Sauce & Gim
Noodles · 20 min
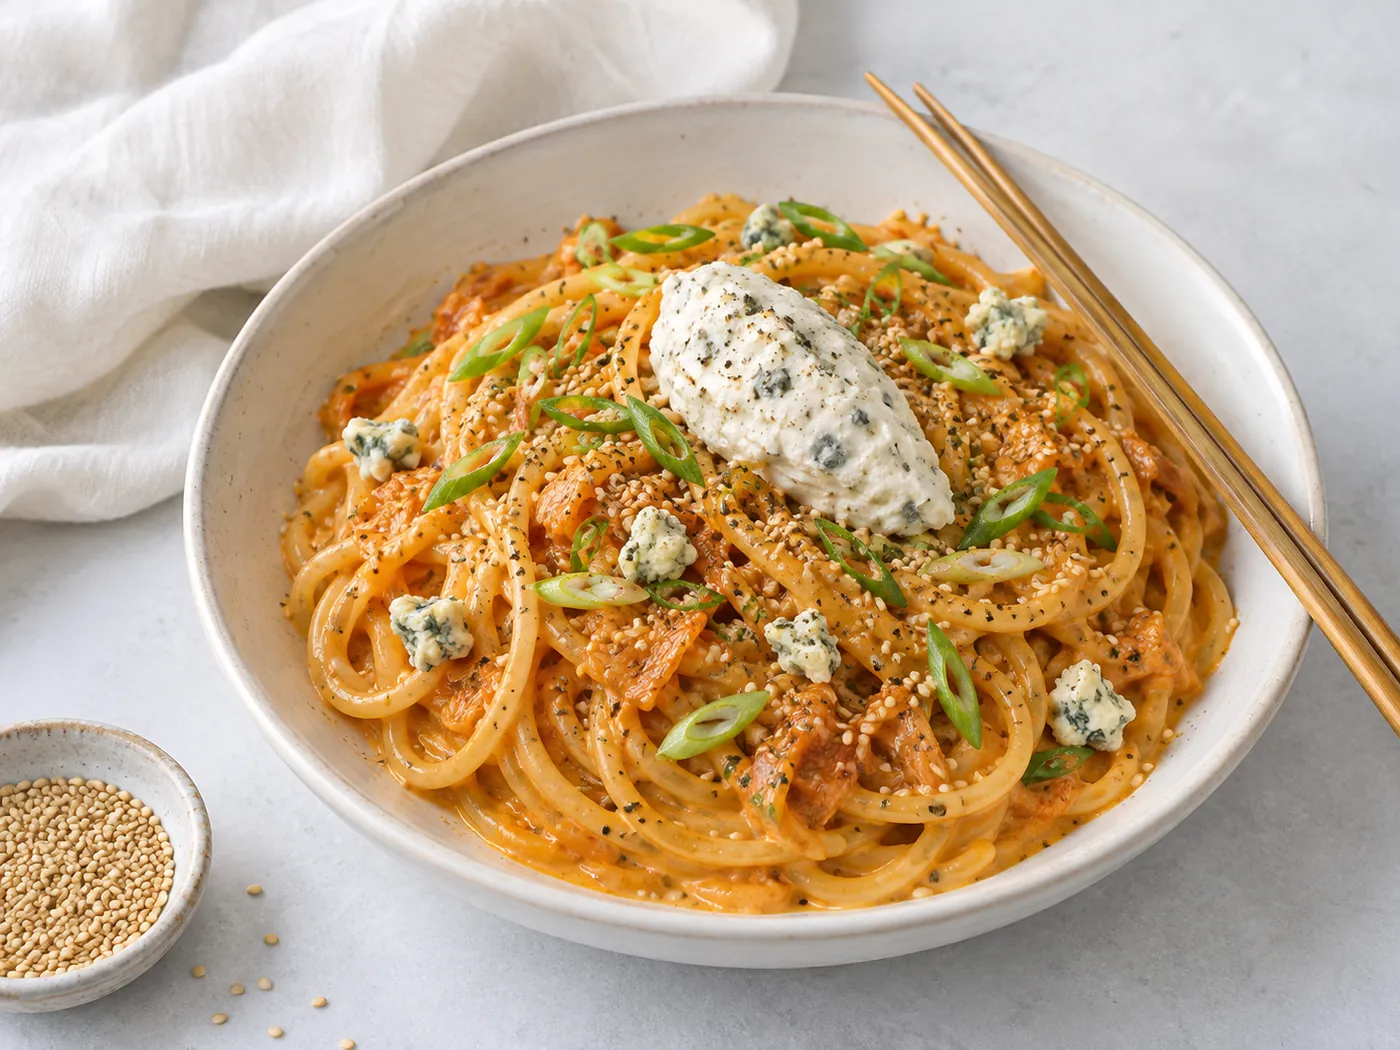
Creamy Kimchi Carbonara with Whipped Gorgonzola
Meat · 35 min
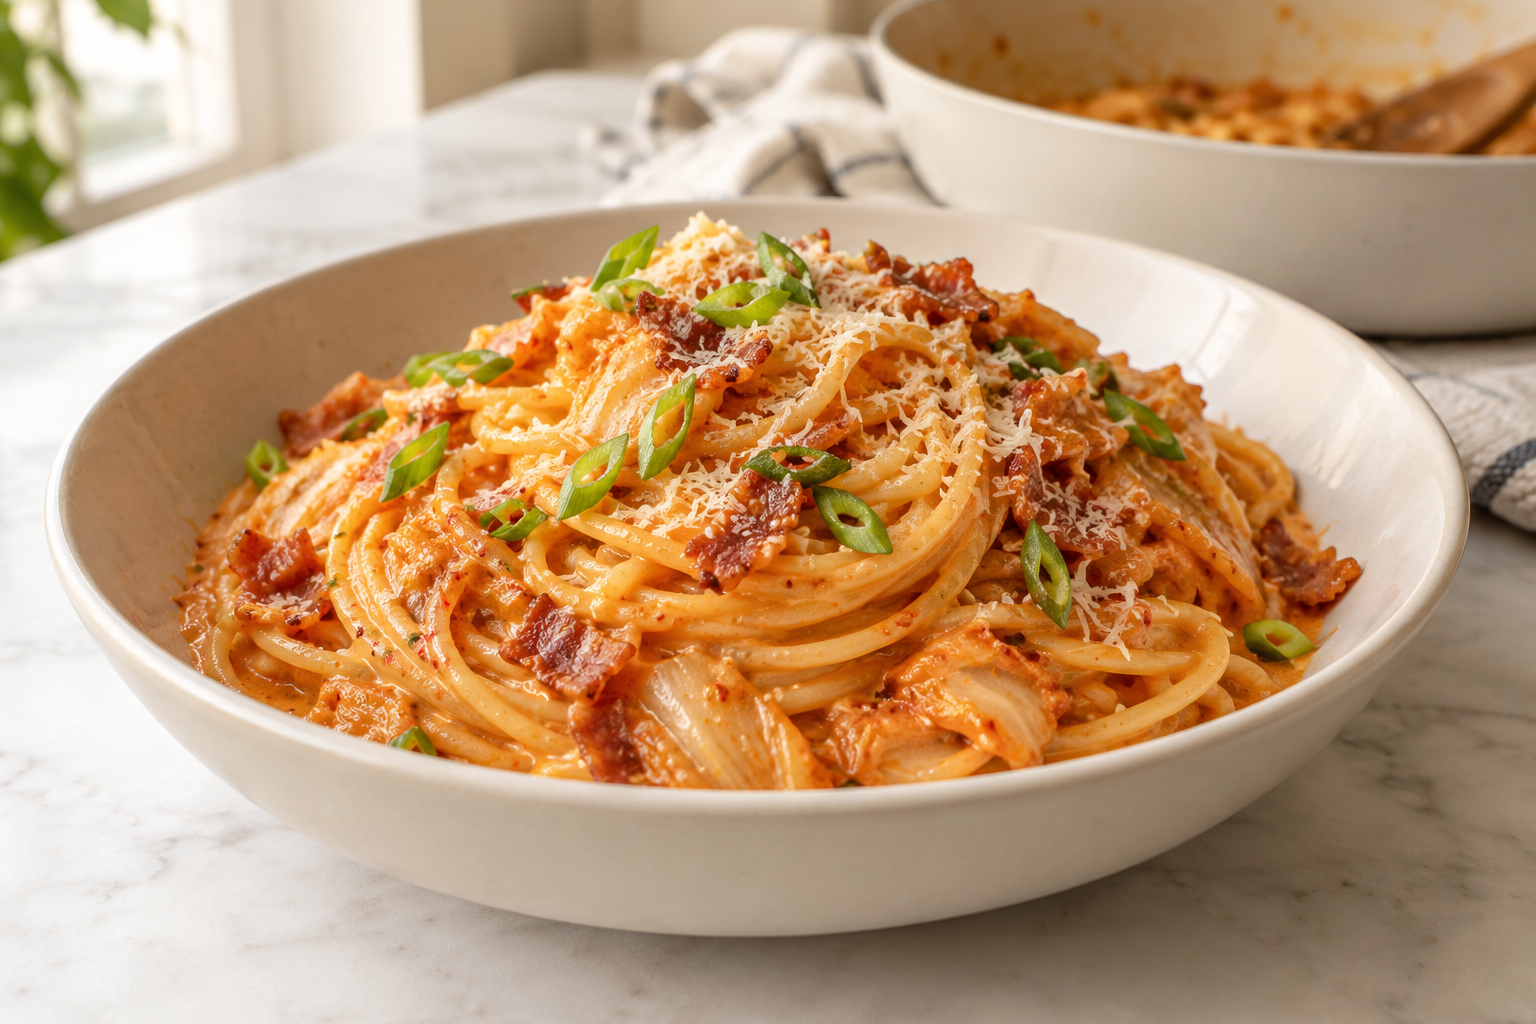
Creamy Kimchi Pasta with Bacon
Noodles · 30 min
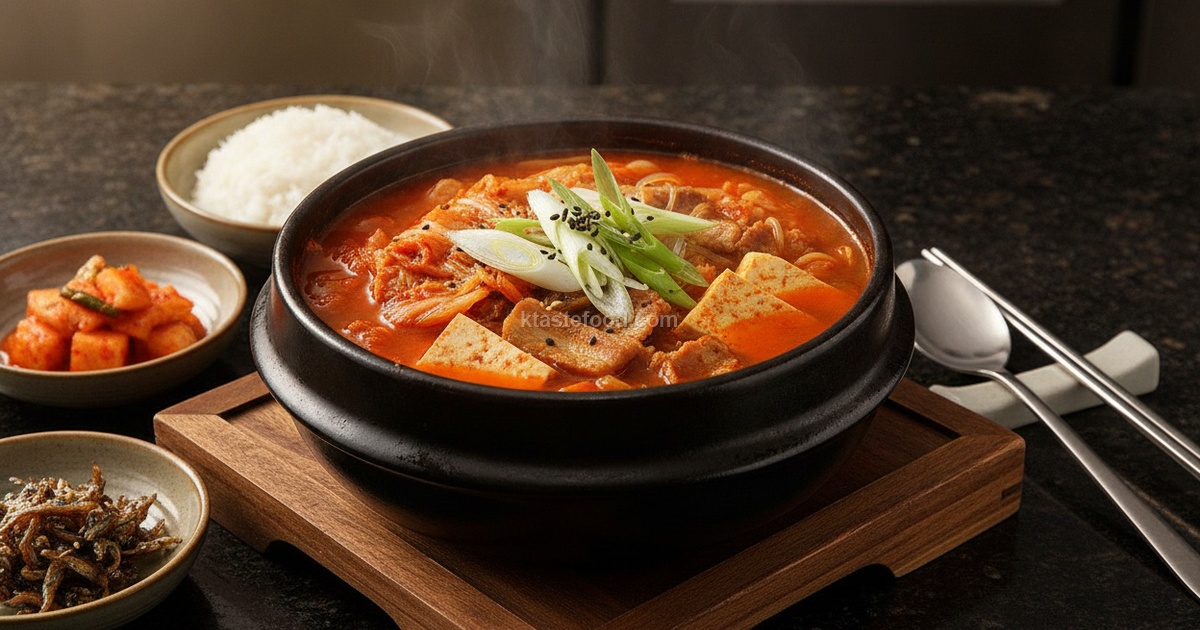
Daebak Mat-Jib Style Kimchi Jjigae: The Secret to Deeply Aged Tuna Stew
Soup & Stew · 1 min
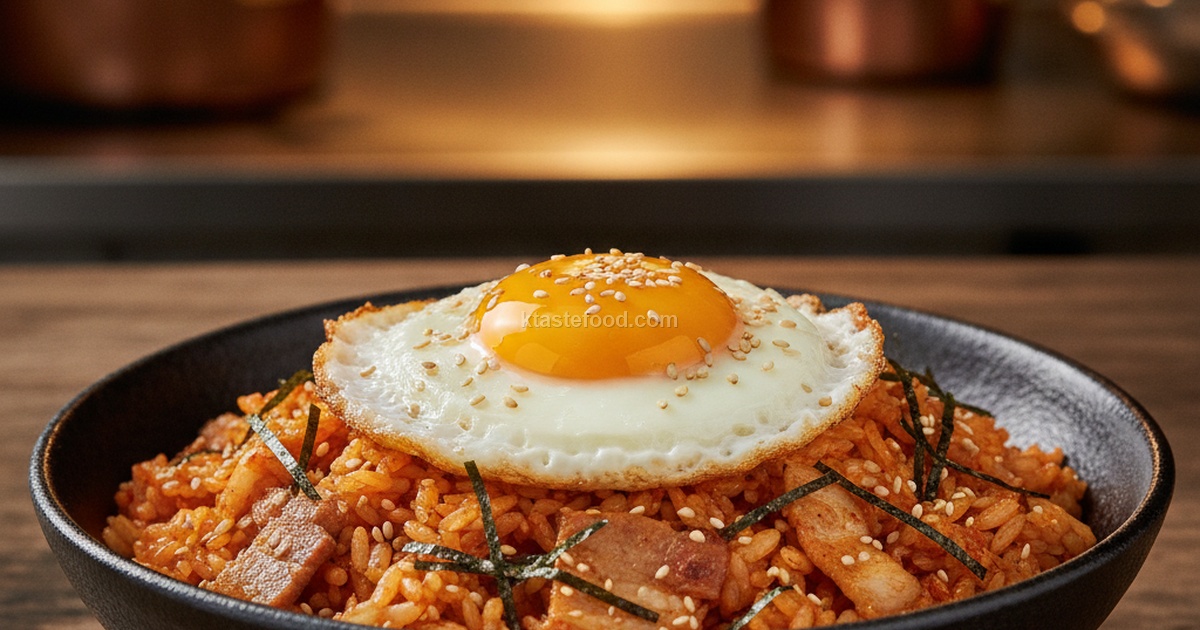
Seoul Street Golden Butter Kimchi Bokkeumbap: 15-Minute Restaurant-Style Kimchi Fried Rice with Crispy Spam & Golden Runny Egg
Rice · 20 min